5.1 Enabling Spring Security
The very first step in securing your Spring application is to add the Spring Boot security starter dependency to your build. In the project’s pom.xml file, add the following <dependency> entry:
<dependency>
    <groupId>org.springframework.boot</groupId>
    <artifactId>spring-boot-starter-security</artifactId>
</dependency>
If you’re using Spring Tool Suite, this is even easier. Right-click on the pom.xml file and select Edit Starters from the Spring context menu. In the starter dependencies dialog box, select the Spring Security entry under the Security category, as shown in figure 5.1.
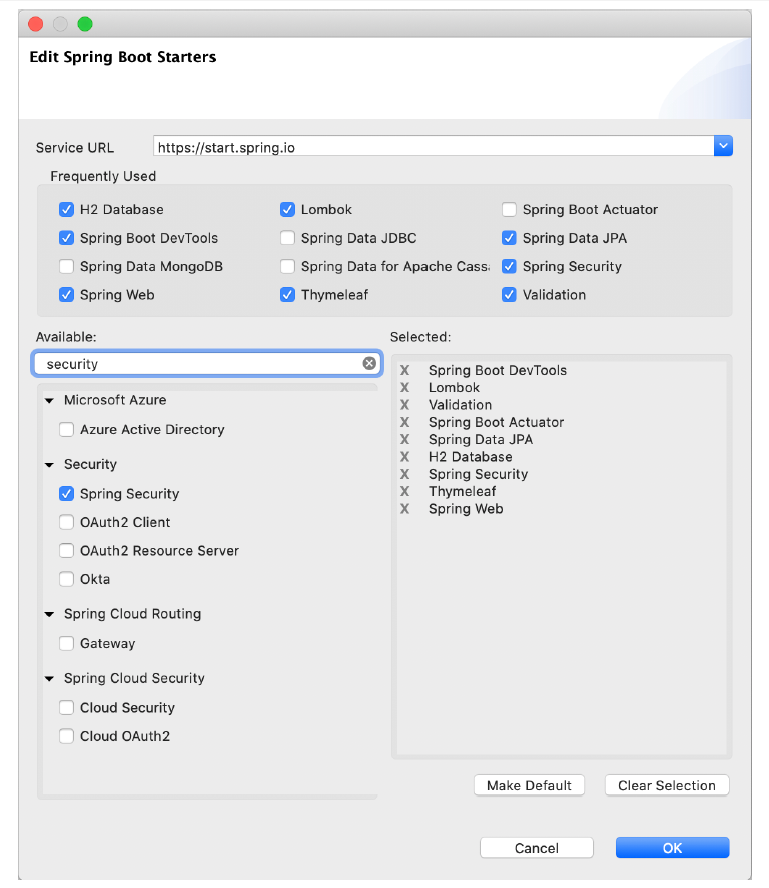 Figure 5.1 Adding the security starter with Spring Tool Suite
Believe it or not, that dependency is the only thing that’s required to secure an application. When the application starts, autoconfiguration will detect that Spring Security is in the classpath and will set up some basic security configuration.
If you want to try it out, fire up the application and try to visit the home page (or any page, for that matter). You’ll be prompted for authentication with a rather plain login page that looks something like figure 5.2.
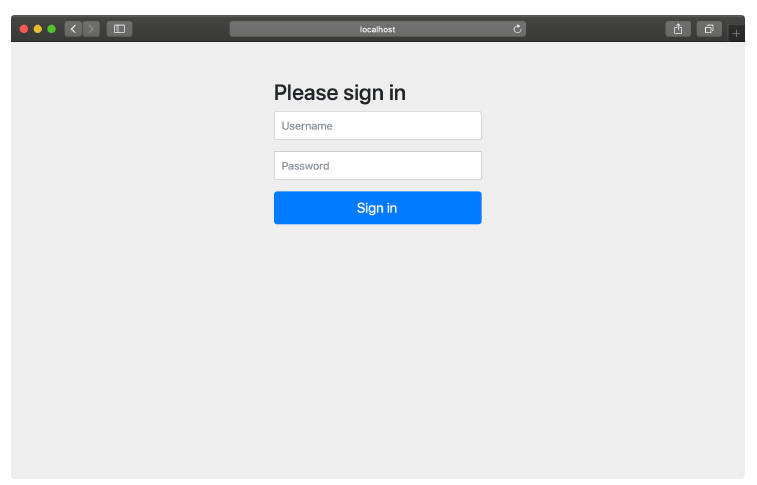 Figure 5.2 Spring Security gives you a plain login page for free.
Going incognito: You may find it useful to set your browser to private or incognito mode when manually testing security. This will ensure that you have a fresh session each time you open a private/incognito window. You’ll have to sign in to the application each time, but you can be assured that any changes you’ve made in security are applied and that there aren’t any remnants of an older session preventing you from seeing your changes.
To get past the login page, you’ll need to provide a username and password. The username is user. As for the password, it’s randomly generated and written to the application log file. The log entry will look something like this:
Using generated security password: 087cfc6a-027d-44bc-95d7-cbb3a798a1eaAssuming you enter the username and password correctly, you’ll be granted access to the application.
It seems that securing Spring applications is pretty easy work. With the Taco Cloud application secured, I suppose I could end this chapter now and move on to the next topic. But before we get ahead of ourselves, let’s consider what kind of security autoconfiguration has provided.
By doing nothing more than adding the security starter to the project build, you get the following security features:
- All HTTP request paths require authentication.
- No specific roles or authorities are required.
- Authentication is prompted with a simple login page.
- There’s only one user; the username is user.
This is a good start, but I think that the security needs of most applications (Taco Cloud included) will be quite different from these rudimentary security features.
You have more work to do if you’re going to properly secure the Taco Cloud application. You’ll need to at least configure Spring Security to do the following:
- Provide a login page that is designed to match the website.
- Provide for multiple users, and enable a registration page so new Taco Cloud customers can sign up.
- Apply different security rules for different request paths. The home page and registration pages, for example, shouldn’t require authentication at all.
To meet your security needs for Taco Cloud, you’ll have to write some explicit configuration, overriding what autoconfiguration has given you. You’ll start by configuring a proper user store so that you can have more than one user.